


Radio
“Hardware: the parts of a computer that can be kicked.”
— Jeff Pesis

We all witnessed that some everyday gadgets were foreseen in SF movies and series. We all know that tablet as we know it was first introduced on starship USS Enterprise, that idea for flying hoverboard comes from “Back to future”, space travel was invented as the imaginary concept by Jules Verne, and Donald Trump was created for…… why?! 🙂 The action cam is not different…
Let’s get back to our story before we go in the completely wrong direction…

Some of you may remember one of the most famous sentences in recent human history: ” We came up with a camera, so tiny it fits into this oversized novelty hat“.

Government guys reported project as a complete success, funding was tripled (for some reason taxpayers got one more row on their tax form) and after Homers field testing it was obvious that idea has great potential. People at GayPro later got their hands on some leaked blueprints, and you know the rest. Action Cam as we know it today was born.
This will not be a traditional guide or test. This time I will try to give you a few tips and tricks on how to do better with your action cam for less money. How to customize it`s casing, and accessories to suit your needs.
So, first of all, let`s ask ourselves why do we need an action cam? You probably already have a smartphone, and maybe even a DSLR, and both devices can create pretty decent or even great video. So why buy another camera? Why buy a camera without a zooming function? The answer is simple, you can`t take any other type of video recording device with you almost anywhere. The action cam is a small, resilient, wide-angle, and the lightweight little device that can fit almost any surrounding and occasion, from the drone to surfboard, from motorcycle to diving mask. The idea is to have something to record your memories without disturbing your surroundings and making itself to intrusive in a way that your normal behavior in given situation changes, so you lose those spontaneous moments. Put in a right casing you can give it to your child and get the first-person shooting, and your child`s memories from an entirely new perspective. I have Sony FDR-X1000V action cam, and I did not buy it because it is better than GoPro or any other camera, I just always loved Sony cameras, and this one also had a stereo Microphone, and that we’re the only decision-making reasons. So this story is not about what is the better device, it is how to get the most of your device, how to be creative, and also to avoid stupid marketing tricks that sellers use to take your money, and as Dire Straits would say get you in a “Money for nothing” situation.
What GoPro started…..
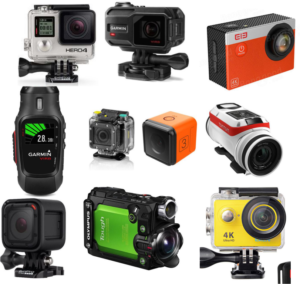
Just to mention that many players went into this action cam race, and now even manufacturers that we know about for completely different products (like Garmin and TomTom) are announcing and producing action cams. Even TELCO`s came in with 4G action cams ?! This has only proven that concept has a bright future, and since manufacturers competition is getting bigger so we as buyers and users can expect better devices for less money. What an exciting time we live in………..
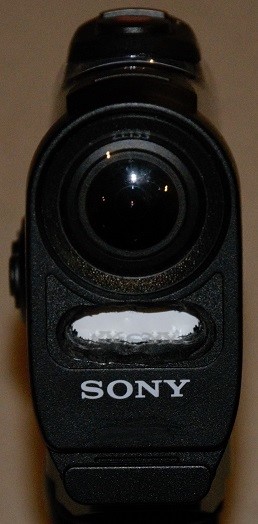
Let`s demystify letters in the name, FDR-X1000V and FDR-X1000 are the same device, but “V” version is with Live View Remote Bundle.
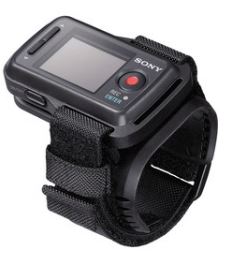
This remote is quite useful as a training tool since you have a live view option and with using it you get some perspective what is your camera actually recording. If you used some regular cameras especially with high zooming capabilities, you will need some time to get used to this small camera viewing angle. The best way to do it is a live view, and it is definitely a better option than record video as it is and than later figure out that you missed vital pieces of your recording scene. Another great feature of this bracelet is that you can easily adjust some basic camera settings, like the switch from video rec to picture shooting mode, and most important, start or stop shooting. Its connection with the camera is 2.4 GHz Wi-Fi, and at the open live view works like a charm in distances up to 20 meters. Indoors is a little different situation, at best it will give you usable streaming next room only. Any bigger distance, or two wall separation, creates connection problems. The same room situation works perfectly, and since this remote is designed as a bracelet, by default you should be always quite close to the camera. The remote bracelet is waterproof to a depth of the water of 3 m (10 feet), for 30 minutes continuously so don`t take it for a scuba diving, since it will be destroyed. Swimming and snorkeling around the surface are ok, but then again underwater it is quite useless since it loses connection with 50 cm distance from the camera. A most vivid example is front crawl swimming with the camera attached to your head, and remote on your arm. In most cases when your arm goes underwater, remote will lose connection. This is not making you any problems regarding recording, but it is a bit annoying to look at the remote display and see the message that the connection is lost, especially if you intended to start or stop recording via remote at that very moment. Here is a Sony statement regarding the subject: “Although the remote control is designed to be waterproof, the Wi-Fi® signals cannot travel underwater. Therefore, it cannot be used underwater to control a camera.” So do not complain that it is not working underwater since it is not intended for underwater use. Sony made remote control unit waterproof so you do not need to worry about jumping in the water while wearing it.
So the conclusion about this remote is that it is a great accessory in every case except water and underwater environment. If you are gonna go swimming remove it from your arm, and turn it off.
Now, back to camera, here are some main specifications:
Waterproof performance:
The depth of water 10 m (33 feet), 60 minutes continuously (In use with the waterproof case (SPK-X1). It means you can get it to 10 m depth and leave it there for 1 hour, and your camera will be ok.
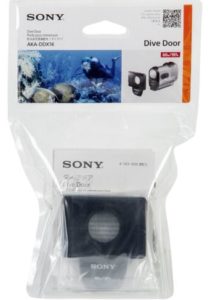
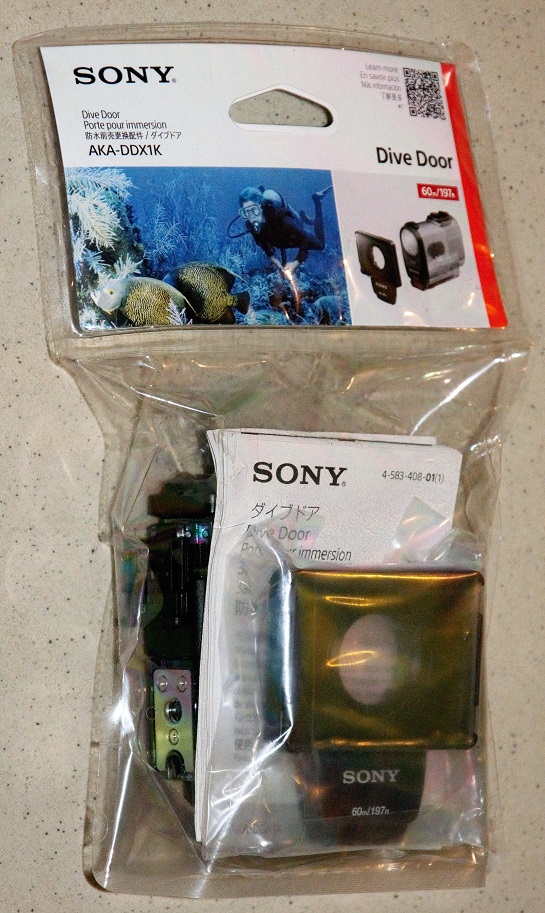
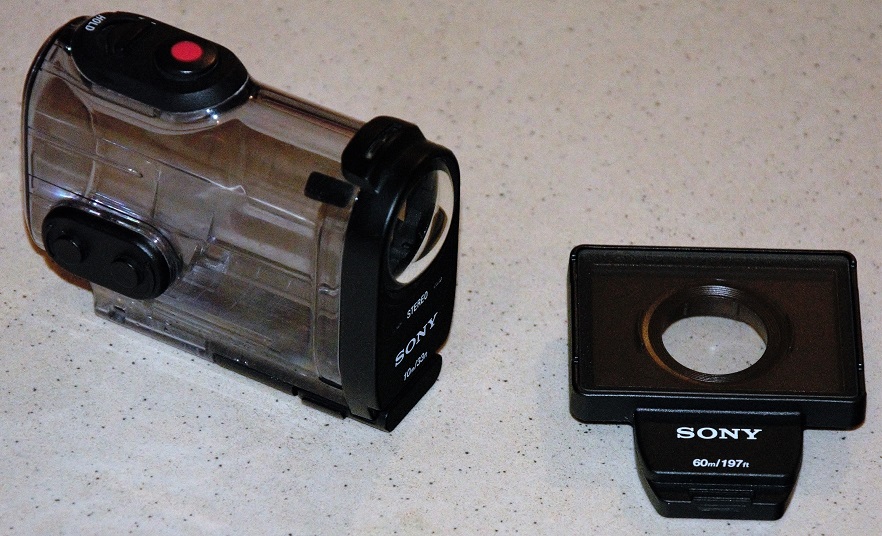
The depth of water 60 m (197 feet) Sony AKADDX1K Underwater Housing Kit. I did not find any time-related data, for maximum depth. One more thing to know when shopping for this thing is that there are few options available. There is only a door replacement option since it looks like that the rest of the case is the same and already strong enough for 60 M depth pressure. Weird thing is that this 60 replacement door cost almost 70 $ at eBay and online stores. Another better option is to buy AKADDX1K Underwater Housing Kit and I found it at Amazon for 40 $. With that kit, you get a complete 10 M waterproof case, and the 60 M waterproof door, so if you need to go deeper than 10 m, just replace the door and you are good. No tools are needed for replacing the door, and the time it takes is less than a minute. There is a link for a kit that I purchased here, and this is how it looks like:
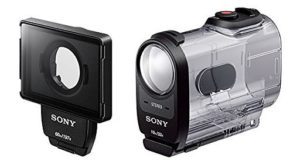
So pay attention to what are you buying, because on this example I’ve shown you that you can buy just a dive door for 68 $, or complete housing with the same dive door for 40 $. One more thing, if buying online, and not sure ask a seller before you buy since sometimes it not so clear what comes in the package. I saw a situation where a picture is displayed complete case with a door, but you would actually get just the 60 m door. I did not investigate so much for other cameras, but I saw some same pattern regarding accessories, so when you decide to go shopping, first investigate, and compare, and if needed ask some questions. When you know your stuff well, only then you can unleash the “buy it now” button :).
Now back to specifications…
Splashproof performance: Equivalent to IPX4.* It means that you should be able to splash it with water and there will not be problems with the camera. There is a “*” after this statement, and here is an explanation offered by Sony: Splashproof performance is based on standard testing by Sony.I wrote to Sony regarding this and asking for more information, and here is their answer: “Unfortunately, we in the technical support can not provide information that is outside the guidelines provided by the Sony website. We can only say that “IPX4” designation signifies that your device is protected against splash water, regardless of which direction it comes from“.
Image device:
1/2.3 type (7.81 mm) Exmor R CMOS sensor
Pixel Gross: Approx. 12.8 megapixels Effective picture resolution (movie): Approx. 8.8 megapixels (16:9) (SteadyShot is set to [OFF])
Effective picture resolution (still): Approx. 8.79 megapixels (16:9)
Lens: ZEISS Tessar
Lens Aperture: F2.8 Focal distance: f = 2.8 mm Focal length (35 mm equivalent) (Movie mode): f = 17.1 mm (16:9) (Movie, SteadyShot is set to [OFF])
FOV: 170° (SteadyShot is set to [OFF])
I will not explain all these since you can find better explanations on some photography related sites than I could ever offer. I will only comment that real CMOS resolution of its sensor is 8.79 megapixels, and that field of view is 170° and that is quite wide, but only when SteadyShot is off. When it is on FOW goes lower, but I was not able to find exact numbers.
Camera:
Exposure control: Automatic exposure
Minimum illumination: 6 lx (Lux) (0 lux cameras can actually “see in the total dark”)
Image stabilization: Electronic SteadyShot image stabilization
Minimum shooting distance: Approx. 50 cm (19 3/4 in.)
File format:
Movies: MP4: MPEG-4 AVC/H.264, XAVC S: MPEG-4 AVC/H.264
Audio: MPEG-4 AAC-LC 2ch (When recording MP4 movies), LPCM 2ch (When recording XAVC S movies)
Still images: JPEG (DCF Ver. 2.0, Exif Ver. 2.3, MPF Baseline) compliant
Recording media:
When recording MP4 movies: Memory Stick Micro (Mark2) media microSD/SDHC/SDXC card (Class4 or faster)
When recording XAVC S (50Mbps/60Mbps) movies: microSDXC card (Class10 or faster)
When recording XAVC S (100Mbps) movies: microSDXC card (UHS-I U3 or faster)
Pay attention to the write speed of the memory card you intend to use with your camera. Buy the fastest one at the start, since the camera won’t let you use some recording modes if a memory card is not fast enough.
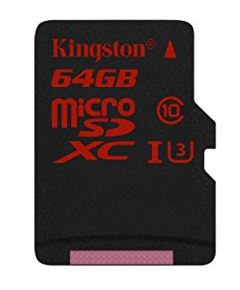
This is the memory card that I use, and I can confirm that it works like a charm with all video modes and settings. I purchased it on Amazon and here is the link if you want to use it as a starting point.
These are video modes that I use in most cases:
For everyday video:
1080 60p 50 M Recorded image: XAVC S 50 Mbps Resolution: 1920×1080 Imaging frame rate: 60p/50p
For slow-motion video:
720 240p 100 M Recorded image: XAVC S 100 Mbps High speed recording Resolution: 1280×720 Imaging frame rate: 240p/200p
Keep in mind that if you are gonna do shooting at high frame rate speeds, in this case, 240 p, you are going to need much more light, so prepare your environment and do some testing before you proceed with the actual shooting.
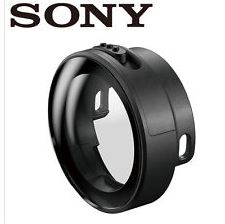
I will start again with underwater casing and what I did with it. My idea was to have a protective casing for everyday use, and another for underwater use. Why would I divide it into those two categories? Because underwater casing will do the job in both situations if we disregard the sound. When shooting in normal everyday situations sound is blocked by underwater housing and audio quality is really poor. So what to do about it? Remove the protection and use the cam as it is? Possible but not so practical. Its lens is very vulnerable and then you would have an action cam that you should care about almost in a way that you take care of your DSLR. Do not touch the lens with your fingers, take care, not to drop it, etc. It would lose the purpose of an action cam, or you would very soon end up with a bunch of artifacts on your video as a result of scratches on your lens. If we disregard the camera`s body perfect solution would be a lens protector from this left picture. The thing is that its price is 33 $, and that is almost the price of the underwater casing. So, in this case, you can choose from 33 $ lens protector or 40 $ underwater casing with double doors.
So finally I got my camera well protected from scratches, hits and falls, and still with excellent sound recording capability for 40 $. I can give it to the kids and not worrying about it falling down or hitting something, and later watch their masterpieces, for kids are great cameramen!
Another thing that included is the dive door for 60 m water depth, that I can install on the housing that already came with my camera, so at the end, I came up with two housings, one for everyday use, and another for water and underwater activities.
Now some more accessories that I consider very handy and have them packed with the camera:
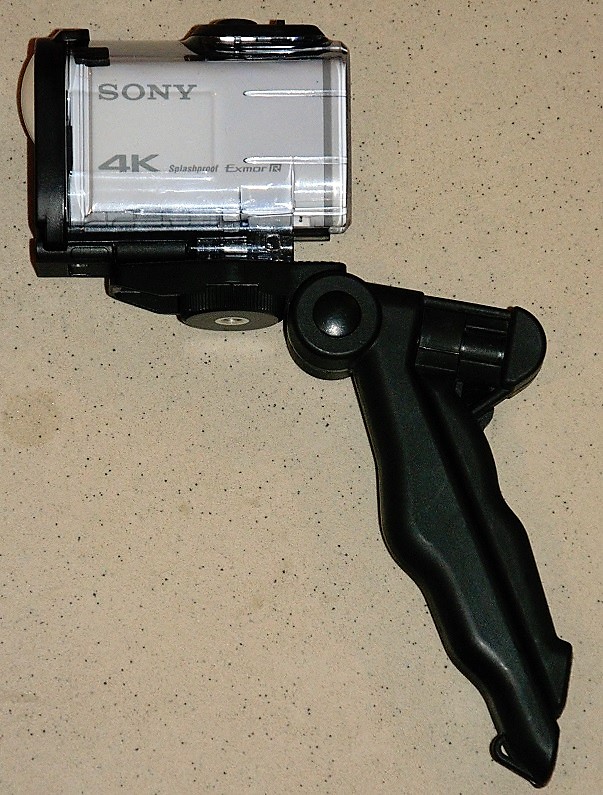
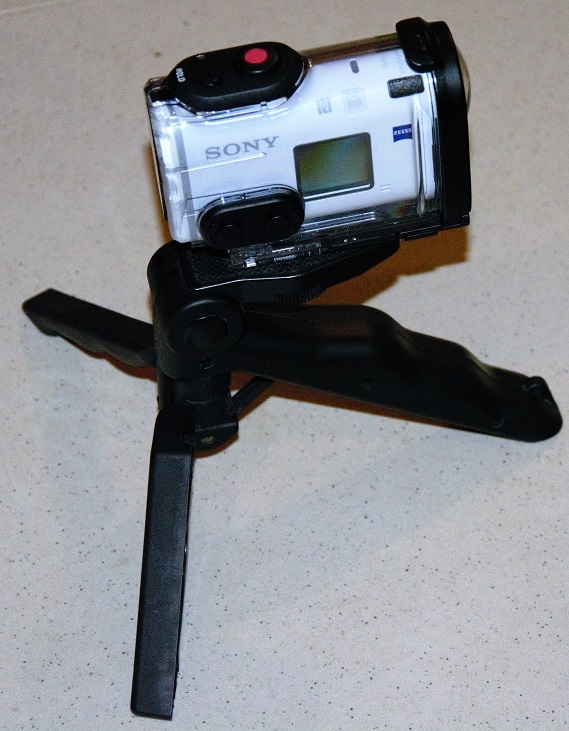
This mini tripod is great for everyday use, whether you want to shoot some video by having a camera on the stand, or from your hand. If we talk about handheld shooting, these little cameras are too small and impractical to hold, but it is very easy and convenient to hold them when mounted on something like a mini tripod. I got this from eBay for 9.85 $, and I think that it is worth of every cent it costs. So with this thing, you again get two tools for the price of one. I also consider this as an excellent accessory because it`s not too big, and it`s not taking to much space while doing multiple functions. When not used my camera is always mounted on this tripod and that way always ready for shooting.
And of course ready means with a full battery. I established procedure for my video gear, so when I finish using it I usually transfer videos to my computer for editing, clean up the memory cards in the camera, and recharge the battery. That way I do not end up in a situation when I want to momentarily start shooting, and get batt. low symbol, or mem. card full message.
To keep up with the movement, and stay organized I have an additional charger and a spare battery, car charging adapter and hard box for it and some other pieces.

I got the charger and two good quality batteries for 25 $ at Amazon, and it is great to have it. The battery on this camera can usually last for 50-80 minutes of recording, depending on options you use (is Wi-Fi turned on, rec. resolution, frame rate, etc.) So with two or 3 batteries and a car charger, you will hardly get in a “low batt.” situation. Another thing is if you go underwater, and then you can`t change the battery. So for diving prepare your gear day before and get a freshly charged battery. Keep in mind that if you are gonna use the camera in cold water, the battery will not last you as long as it should do at room temperature. This is practical advice and it is just FYI, your recording time will not be reduced for more than 20 % of normal and if it`s not making you a problem, just ignore it.
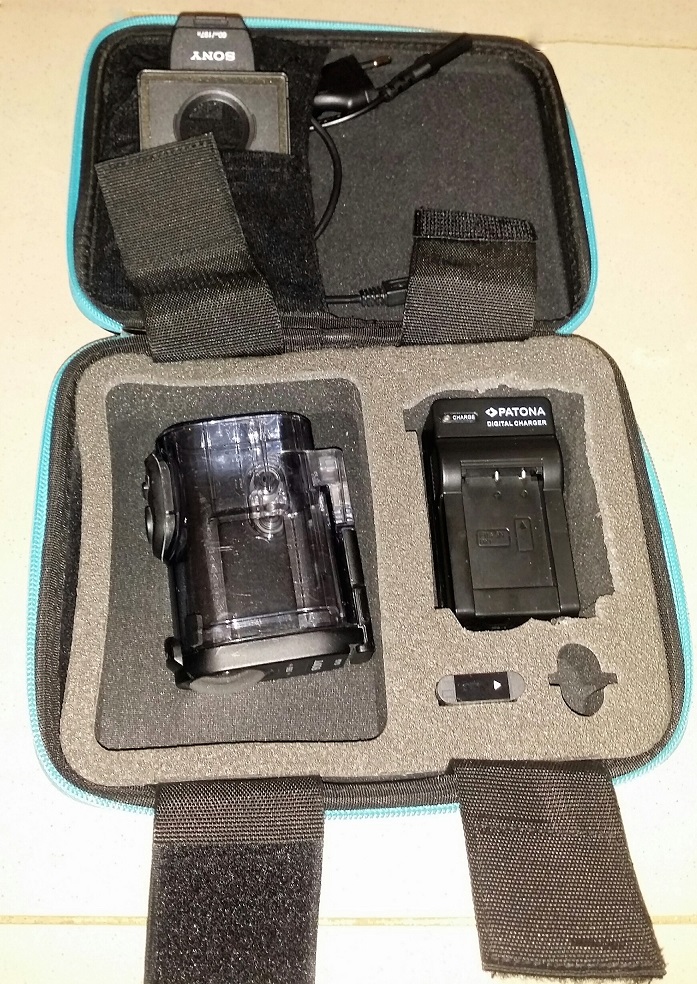
Everything is packed in this great little traveling case that I got from Banggood store for 14 $. I did some modifications to the casing by cutting off some of its sponge to fit the shape of my accessories. In it, I keep charging and underwater accessories. The camera is not traveling inside since it already has its protective casing and I like to have it near the hand.
This is an example of a time-lapse done by my action cam. This is the first time-laps I ever did, and that is why I`m posting it as an example.
It was done by taking pictures once every ten seconds for 36 hours. So it means that this video was made originally by taking 6 x 60 x 36 = 12960 pictures total.
Later they were combined to get this video. I cropped and shortened it a bit for the sake of this example, but you now get the idea of what you can do with the time-lapse function of your cam.
This video was shot at 720 240 p, so it means that the camera took 240 pictures of resolution 1280 x 720 in every second and at the slow-motion, part video slowed down for 18 times.
Here is an example of an underwater recording done at 1920 x 1080 50 p .
GoPro Hero 3 1280 x 720 30 p
Well, it is time to end this story, I hope you find it useful, interesting, and if you have any comments, thoughts, or simply want me to test or try something out, please leave a comment and we will get in touch. If you liked this article maybe you will also like this LED dive light review.
Once again thank you for reading.

Hi guys!
Hello to you too 🙂