Radio
“It has become appallingly obvious that our technology has exceeded our humanity.”
— Albert Einstein
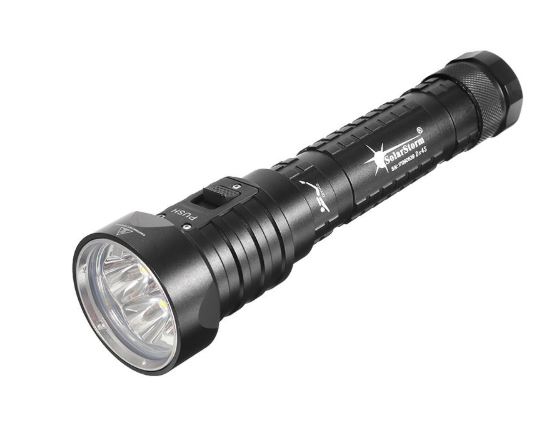
Some time ago I purchased a Solarstorm DX4S diving flashlight. Price was very tempting and I decided to give it a try. Got mine for 40 $ from Banggood. I must say I was quite skeptical since this was no proven manufacturer like Scubapro or Halcyon, but figured out that I needed a strong lamp for camping anyway so, I decided to order it and then inspect it a little bit. If it looks like it could actually survive high pressures underwater I would take it scuba diving. If it doesn’t look like solid built (no o-rings, plastic instead of the tempered glass protecting the reflector etc.) I would keep it as a home/car/camping lamp. So it would be a win-win experiment.
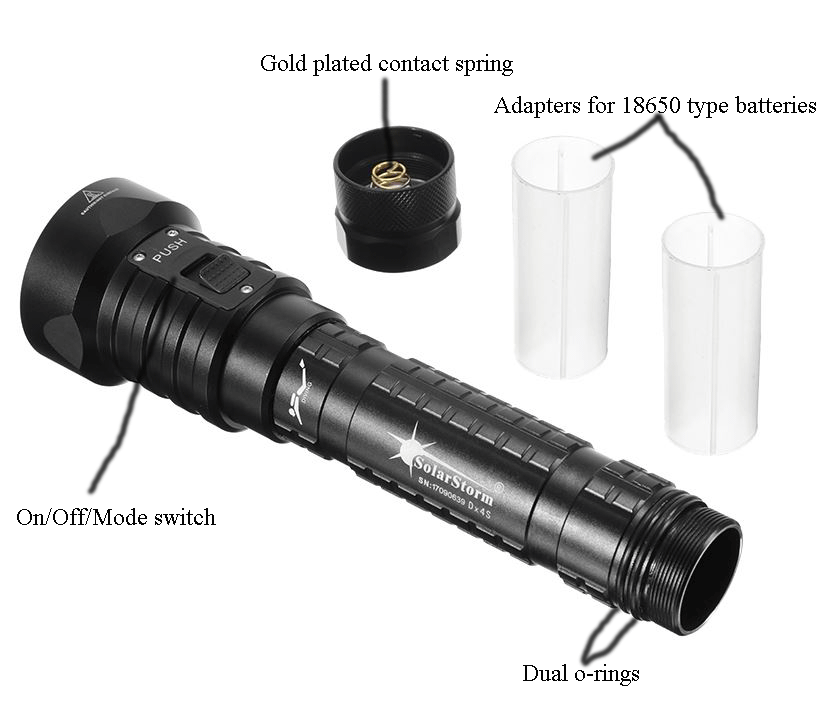
The flashlight is powered by two 26650 or 18650 batteries. If you are going to use 18650, you have to put them into supplied adapters (yes they come in a box with the flashlight). It is a quite big flashlight and it fits the arm great. The switch is big enough, well placed and easy to operate even wearing 5mm neoprene gloves. It just slides up and down. One time up it is on, one more up the flashlight is off. If you hold it pulled up for a moment it will change mode. The flashlight has 3 modes, High, Low, and Blinking or Strobe mode. I have no equipment to measure output lumens. Only judgment was my subjective visual experience and from that part, I`m more than happy. When you turn it on in a room at night, it scares the shit out of the dark, and the light level is almost like regular lights are on. At first, I could not believe that handheld lamp is producing so much light. The beam is not too wide, and yet not to narrow. It is perfectly balanced and I like it both underwater and on land.
At the bottom, there are two o-rings that take care of the keeping water out of the lamp. They do a perfect job since I never saw even a single drop of water between them. It means one ring is enough, the second one is just a safety precaution. Bottom cap has a gold plated contact spring, and I never had a problem with batteries losing contact. When operated on dry, it heats up much after few minutes of working so I think that it is ok to use it on short terms, but it should not be on for a long on dry because there is no water cooling it that way. It is definitely an underwater battery and should be treated that way – with respect.
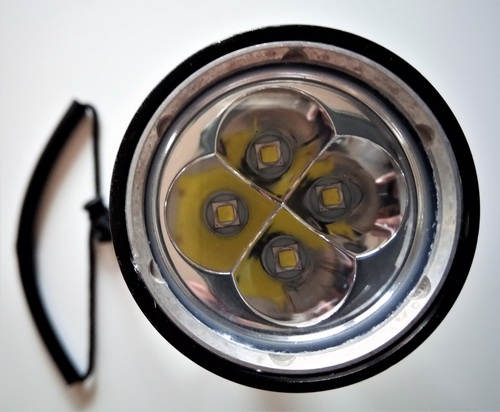
The flashlight has four CREE L2 U2 emitters, each rated at 2 W, and that would be total 8 W of power. L2U2 has a working voltage of 2.85 volts. If we take in the calc that four of them is 8W / 2.85 V we will come to 2.8 A. Later I will display what I measured, and it will prove that all numbers are ok and real.
| Product name: | Solarstorm DX4S Diving LED Flashlight 60M |
| Brand: | Solarstorm |
| Model: | DX4S |
| Emitter Type: | L2 U2 |
| Material: | Aluminum alloy |
| Total Emitters: | 4X |
| Mode: | High–Low-Strobe |
| Runtime: | 1h53min,4h20min,7h10min (26650 battery) |
| Lumens: | 3200lm-350lm-3200lm |
| Battery Configurations: | 2 x 18650/26650 battery (not included) |
| Switch Type: | Magnetic resetting switch (change the modes) |
| Switch Location: | body side of the flashlight |
| Lens: | Impact-resistant glass lens |
| Reflector: | Metal smooth reflector |
| Carrying Strap: | included |
| Waterproof: | 60 meters underwater. |
| Color: | black |
| Weight: | 374 g without battery |
| Size: | 214mm x 55mm x 34mm(length x head x tail diameter) |
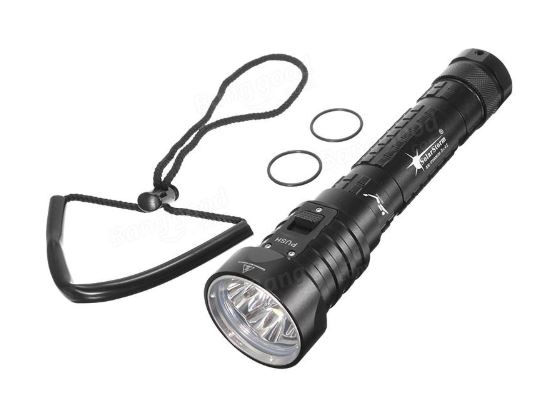
Its declaration says that it is 60 meters water resistant, and I took it to 58 meters. It survived so the manufacturer did not lie. I personally think that it can survive more than 7 bars of pressure but let’s be realistic here, what do you want from a 40 $ flashlight? 60 meters is deeper than most regular users will ever dive, and at that depth, you are entering the technical diving area so you need another kind of equipment. I have it now for two years, used it in APNEA and SCUBA diving, and in general have all positive experiences.
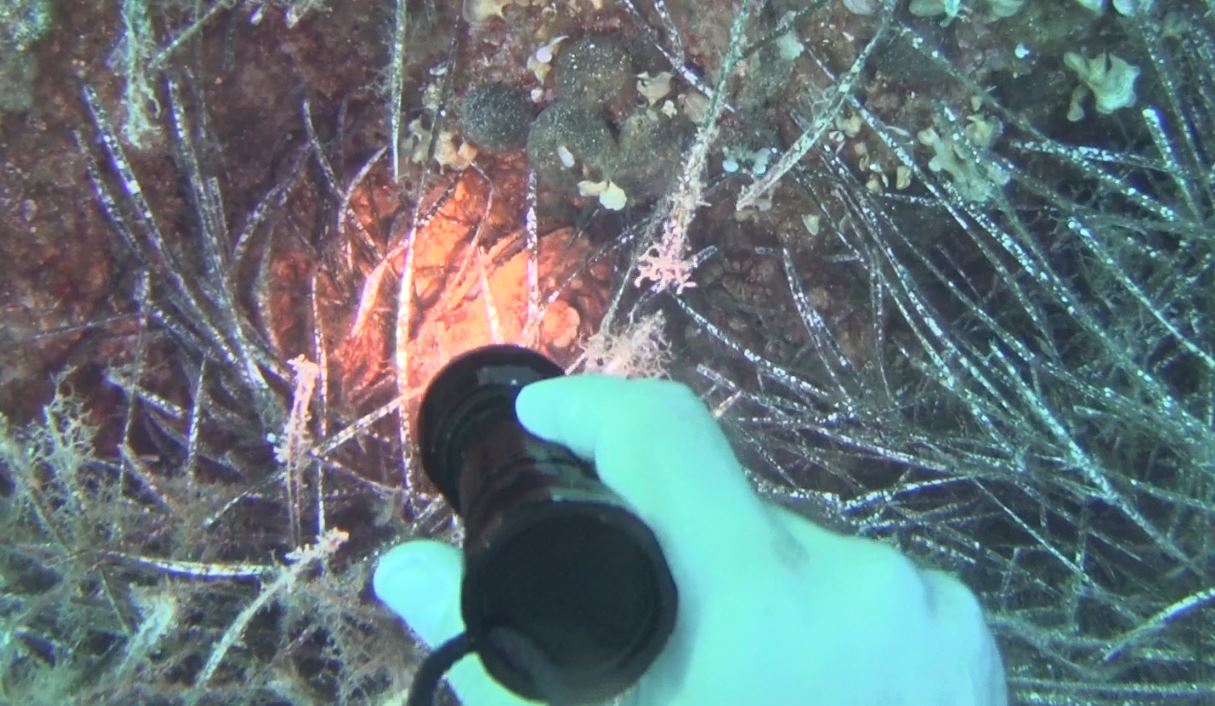
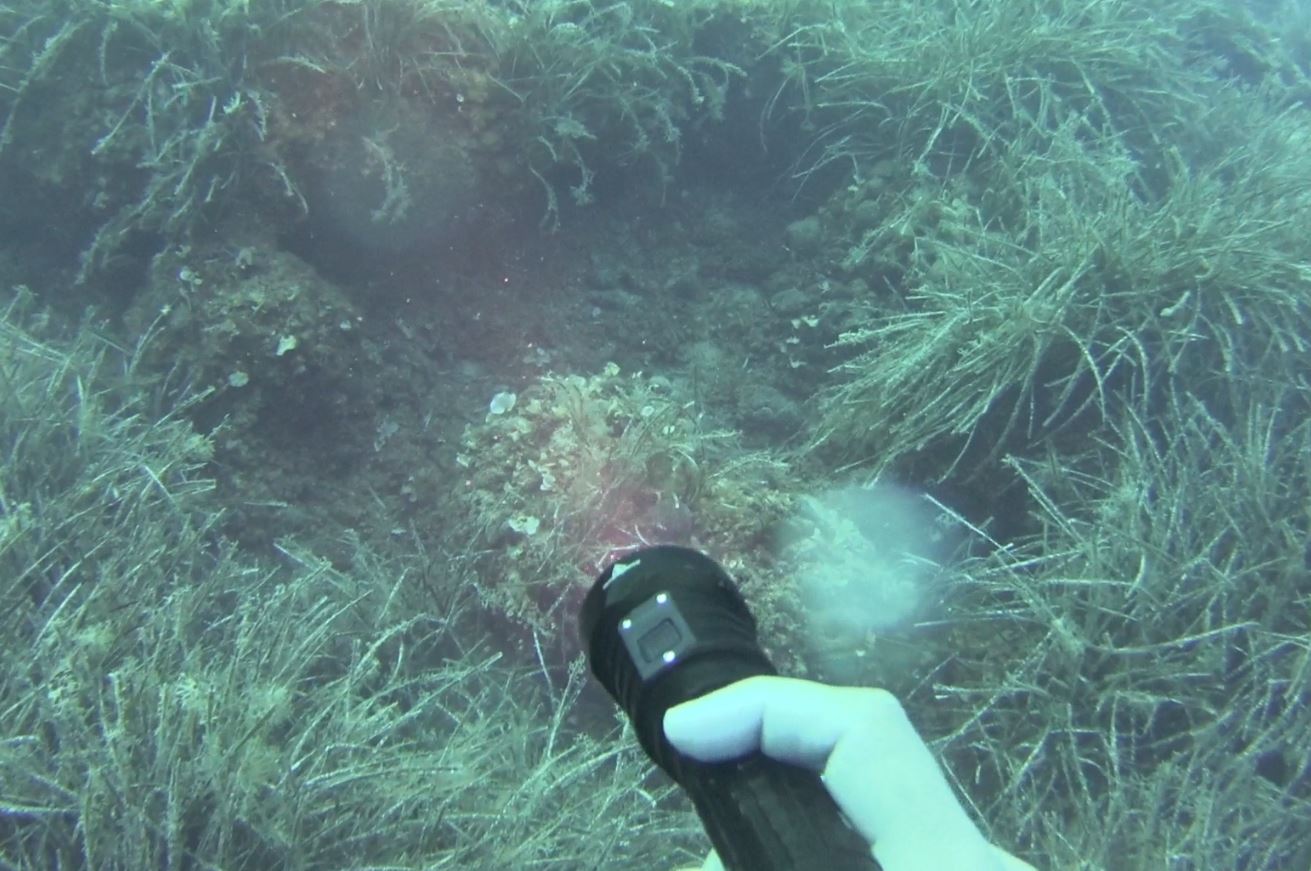
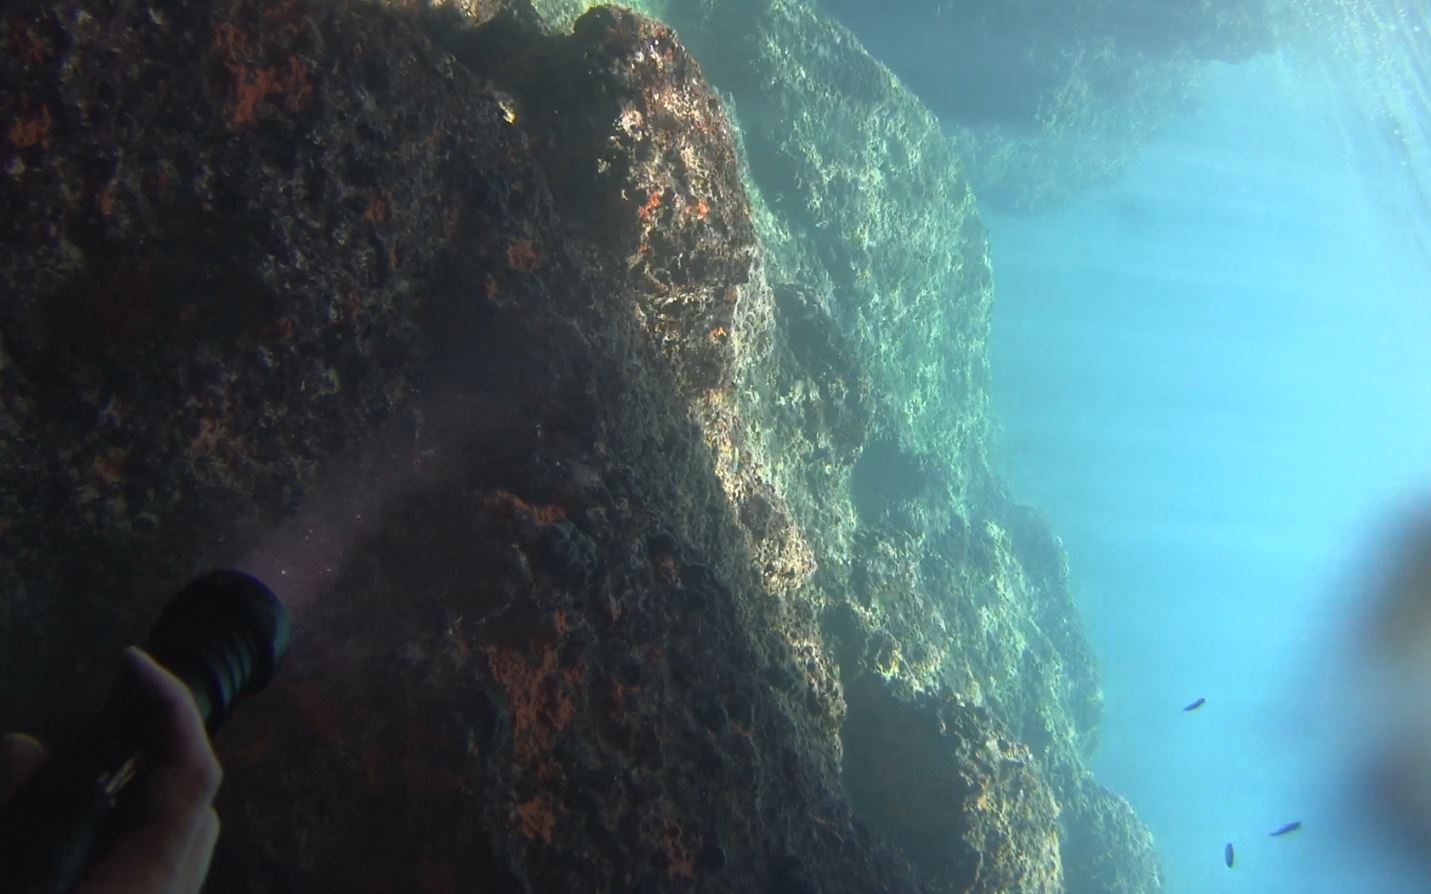
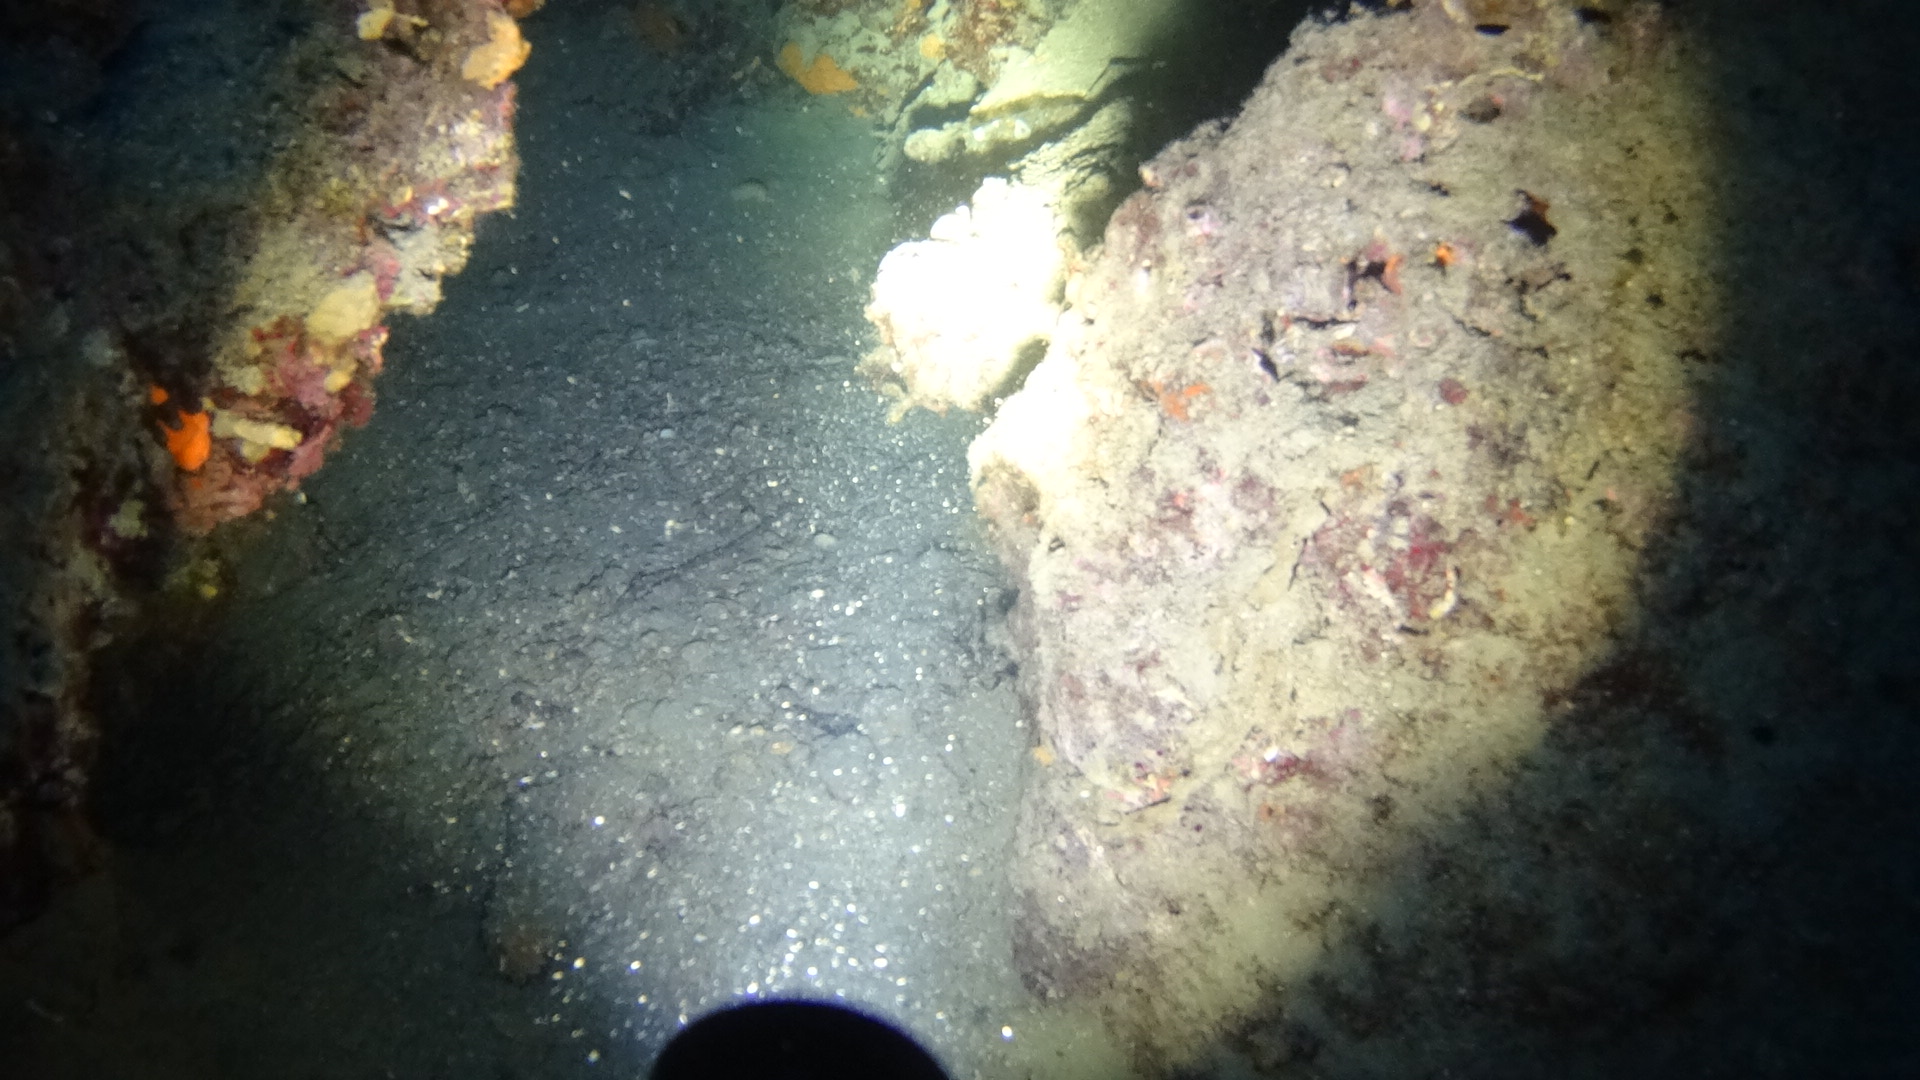
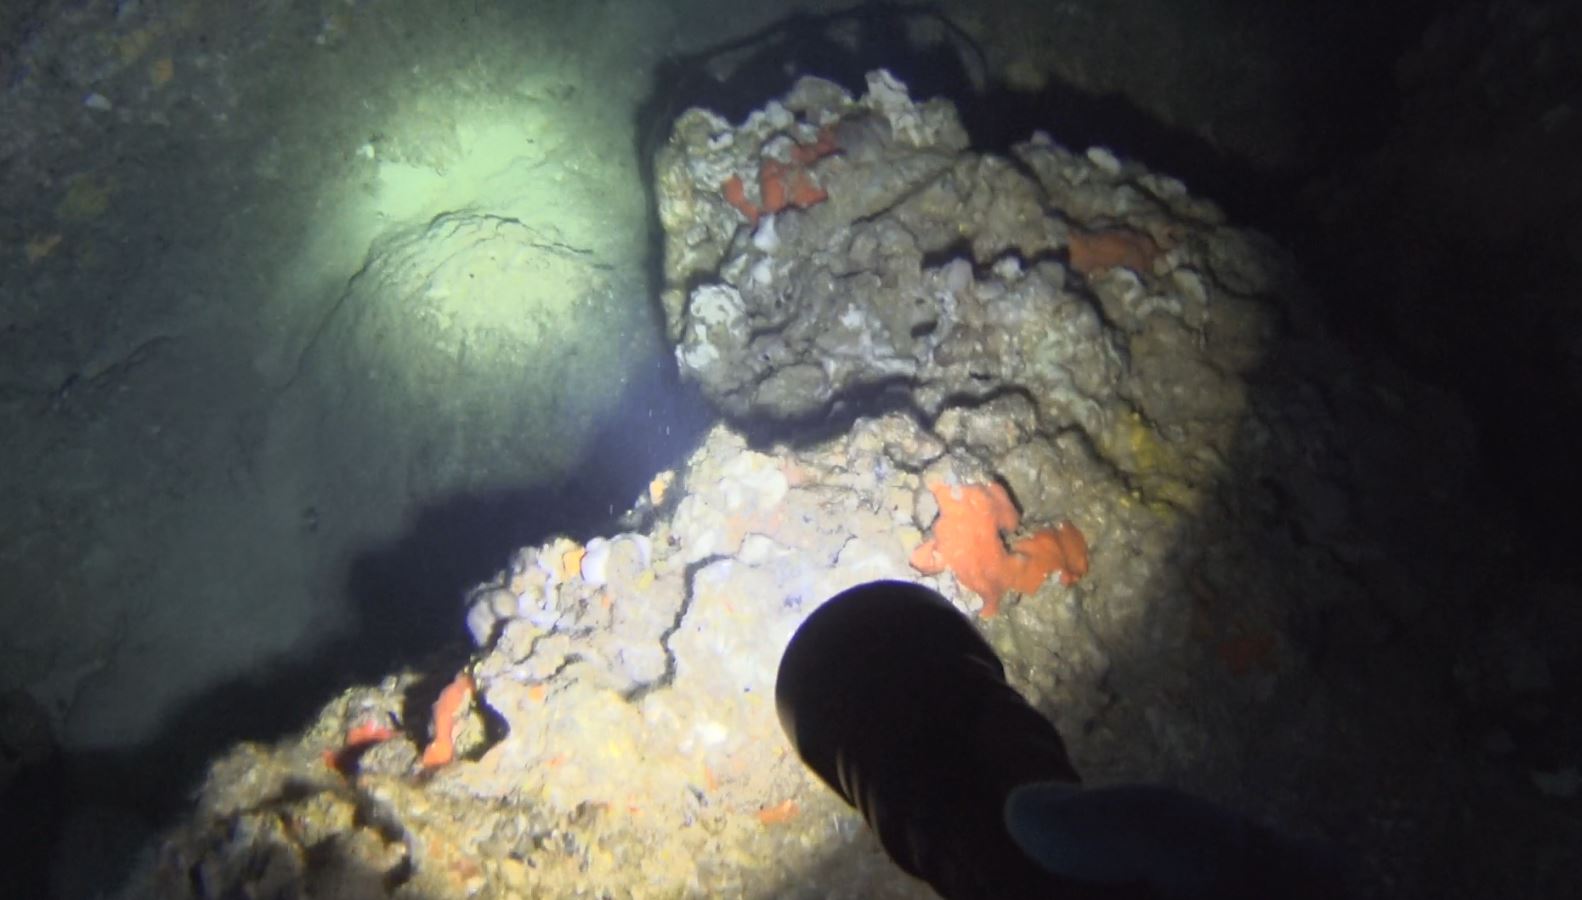
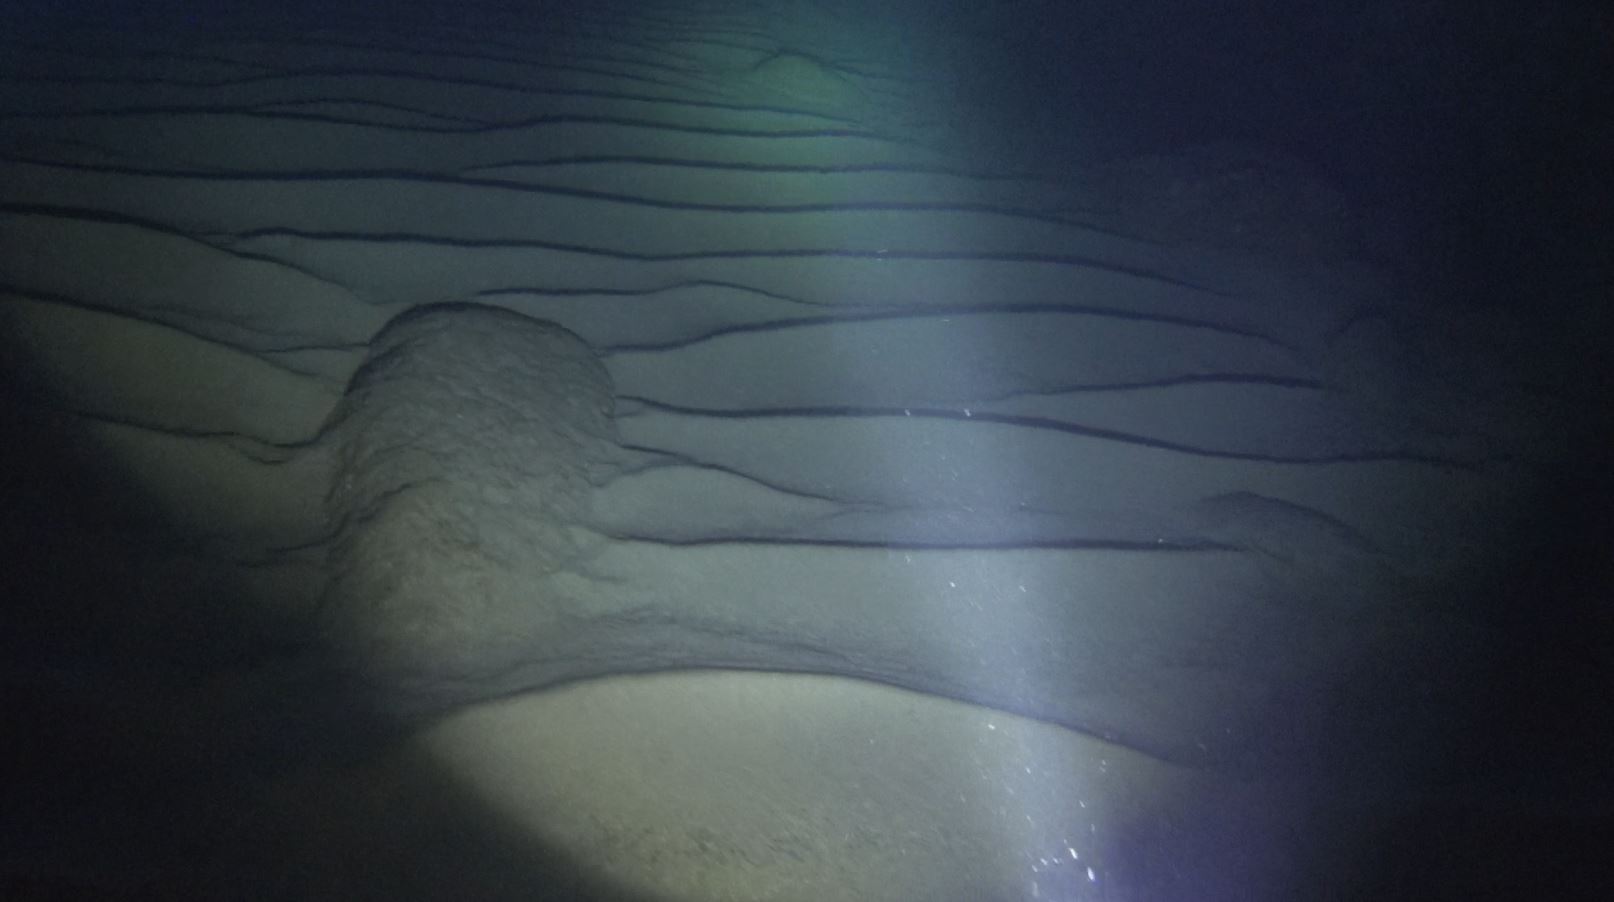
Here are a few pictures and video showing how it looks to dive with this lamp. There are pictures from day and night diving, so you can experience how much light it produces, how big it is in the arm, and what do you get underwater in general.
Title of this paragraph may sound stupid and absurd, but on the sea bottom there are plenty masks, knives, lamps, and other objects that belonged to people that “knew how to do it”. I use a double-sided diving carabiner to secure the flashlight. One side I secure to battery hand strap and the other side to my wing`s harness. So it is locked near my right shoulder, and it has enough cord to freely use it, and move around. When not used, or in hand I just put the battery under the belt so it is not just hanging below me, hitting the bottom or making any other type of mess. It`s kind of DIR philosophy and makes a perfect sense.
As mentioned before it can be powered by two 26650 or 18650 batteries. As logical 26650 are bigger and can have the larger Ah (Amper hours) capacity so they are the first choice. A good thing about 18650 cells is that you have them in every laptop battery.

Maybe you can remove some of them from an old or damaged battery pack of a laptop computer. Usually, there are 6 or even more cells in a package, and one or a few of them is destroyed, but the rest is working and has the excellent capacity. You only need two of them so you have great chances to get lucky. I scavenged one nonworking Asus battery pack and got 5 out of 6 in working condition. They are in the picture above.
If you have any decent charger, it will do the job for you and test batteries. What I want to say is that if charger start and after some hours finish charging process, the cell is ok. If it displays any type of error, it means the cell is damaged, and you should throw it away and try the next one.
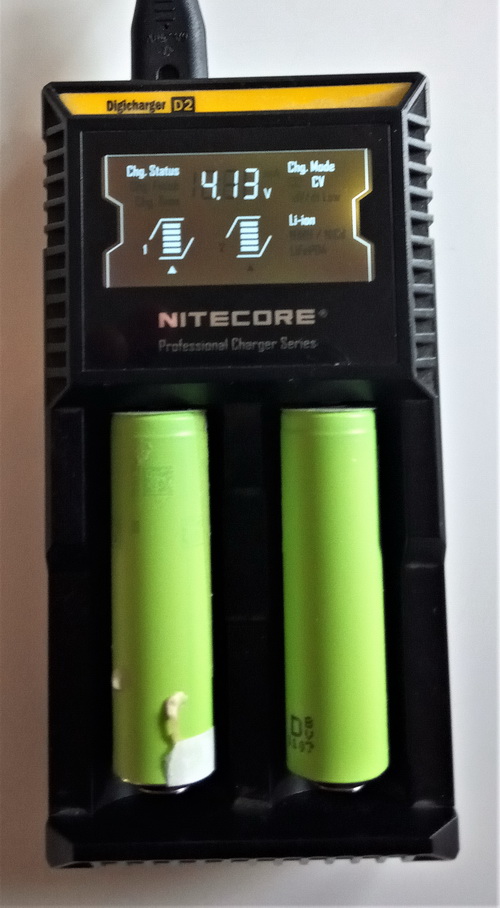
And remember, there are marked places where it is ok to dispose of the batteries. Anyway there is one thing to be aware, or so to say beware, and that are scum batteries. There are many brands claiming insanely big capacities for just a few bucks. If it sounds too good to be the truth then in most cases it is not, so avoid buying the cheapest batteries. The same thing is a with a charger. I personally use this Nitecore Digicharger D2 ( D4 version has 4 batt slots) and it is a great charger. If you want the best for your batteries this charger will do a great job. Back to the lamp now.
What I measured on high setting is 2.7 A. On the low setting it is 0.86 A. It means that with 18650 cells you can get around 50 minutes of light at full power or a little bit over a 2 hours an low power mode. For 26650 battery type, with 4.2 Ah capacity, it is a little bit more than 90 minutes at high power mode or near 5 hours of light in low power mode. In both cases, it is quite ok for regular dives especially for day open water dives where you do not keep the lamp on the whole time.
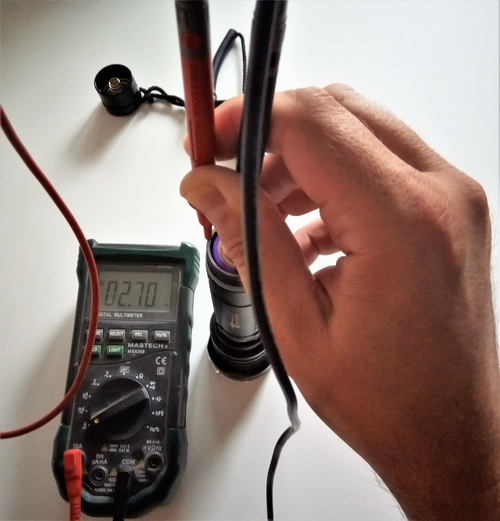
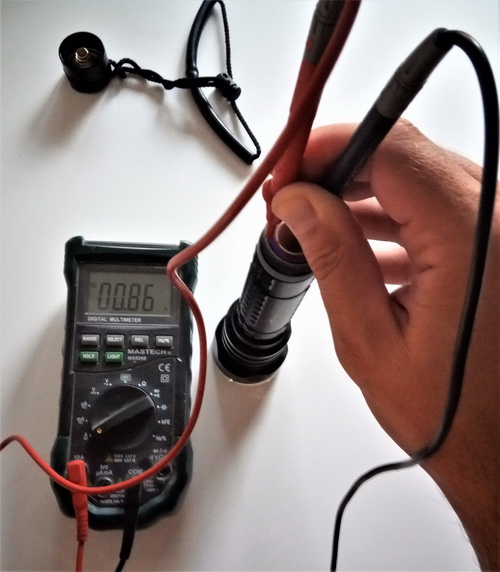
I noticed there is something wrong with the flashlight after having it for a few days. I would charge the batteries and put them into the flashlight. It worked like a charm. Then I would leave it be since it is not something I use on a daily basis. After a week or more, when I needed it there was no light coming out. I started to investigate what is wrong. Batteries had no juice. So I taught that I got junk batteries. Shit happens, right? I charged the batteries again, and everything looked fine. But this time I would not fall for the same trick again. I did some measuring and here is what I discovered.
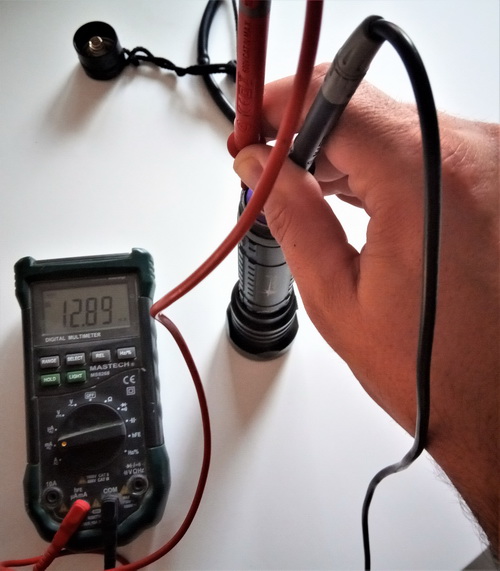
When turned off, the lamp takes about 12.89 mA from the batteries. It must be a driver problem or a construction error, but I did not want to disassemble it. Now that I knew what the problem was it was possible to fight it. So basically it will drain 0.3 A / Day from batteries if you put them inside. For regular 18650 cells, it is draining around 13% of capacity per day. If you charge batteries just a few hours before the dive (and that is the best thing to do), you won’t feel the difference, but if for any reason you can’t do it that way, you need to do something about this problem.
The trick is to screw the bottom cap completely and then unscrew it for approximately one turn. When you try to turn it on it will not work, until you screw it back so it won’t drain batteries. Good thing is that at that position of the cap, both o-rings are actually covered inside the cap so water can`t get in. So you have something like safety switch and little more to think about, but it does the job. It is really not a big deal to do it. This is the only objection that I have found for DX4S.
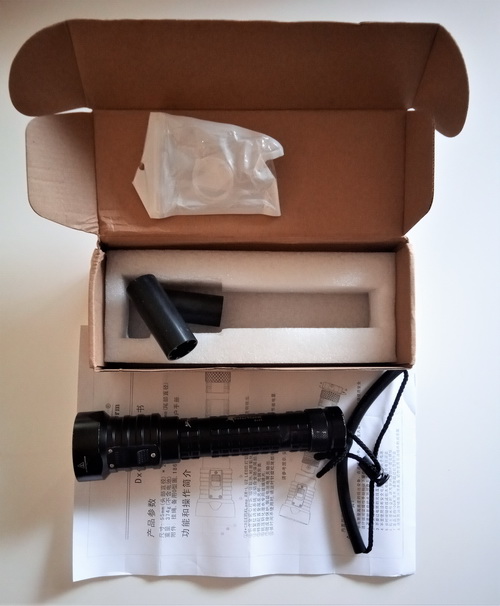
The flashlight has no hard case or carrying bag, it comes in the cardboard box, with two spare o-rings, adapters for 18650 batteries, and some kind of manual on one piece of paper, and in a Chinese language only. So, you can throw away manual, it is pretty much useless if you don`t eat plenty of rice every day. Let’s just say that it comes packed well enough to survive postal services and that is it. You do not buy a thing like this for its packing, so it`s not so important at the end. English manual would be a nice upgrade, but let us remember, it is just a lamp :). Just one more recommendation at the end. Get some silicone grease and put it on the o-rings. It is a good thing to do once in a while. Summa summarum, this is a great flashlight and you get decent quality for your money. Remember, wherever there is light, there is also something to see, and there are only two things that should come out to the surface from a dive, (except a diver of course 🙂 ) bubbles and photos. Happy diving 🙂
Thank you for reading,

Posted in DIY, Tech Tavern, Video Tagged with: Dive lamp, Diving flashlight, DX4S, LED, Led lamp, SCUBA DIVE, Solarstorm, Solarstorm DX4S, Solarstorm DX4S dive lamp, Solarstorm DX4S diving flashlight, waterproof lamp
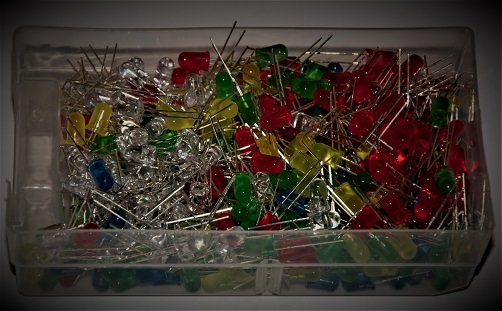
Here are few thoughts about led lights, what are they, how do they work, why do we need them, and what to expect from them. There will also be a buyers guide, or should we say some advice about what types should you avoid purchasing. Led lights can be quite expensive, and electricity prices are also climbing, so you could end up saving or losing money, depending on your choices.
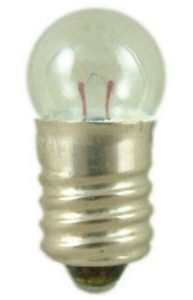
Traditional filament bulb
The LED comes from Light Emitting Diode, and it is a two-lead semiconductor. They were introduced in the early 60-s and quickly become a regular part of many electronic appliances.
First of all, they were replacing standard incandescent lights, that were usually bigger, had a shorter life, nonresilient to vibrations and most off all more power-consuming.
The incandescent light bulb or lamp is a source of electric light that works by incandescence, which is the emission of light caused by heating the filament. There is an extremely wide range of sizes, wattages, and voltages. But back to LEDs…

Red LED
At first, LED-s were used as signaling lights, and due to technical limitations, no one even considered them as main light sources. LED`s were available in yellow, red, and green color at first.
Then in the early 1990-s, professors Isamu Akasaki, Hiroshi Amano and Shuji Nakamura made the first blue LEDs.
Later this enabled a new generation of bright, energy-efficient white lamps, as well as color LED screens.
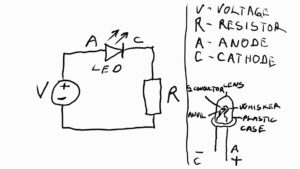
So, how to use LED? Basically you need DC power source (DC stands for Direct Current) matching voltage required by LED, and a resistor connected in serial is for over-current protection. It has two leads called Cathode or – and Anode or +.
You can notice that one of the leads on the left picture of the red led is longer. That is Anode and it is a way that manufacturer tells you “that lead goes to +” .There is also a flat spot on the bottom of the led casing where other lead comes out, and that is the way to tell you that that lead goes to -. Why two markings you would ask? Well in electronics there are a lot of wise guys with all different sorts of tools, and sometimes leads get a final touch by cutters, so without this second marking, you would end up not knowing what is + and what is -. Well even if you do not know anode and cathode it is not a trouble, as if connected wrong LED will not work, but won’t get damaged either. So you get a 50% chance to connect it right, and if there is no light coming out of it, just reverse the polarity.
Here on this next illustration is a drawing that explains how to connect it, and some main parts of it.
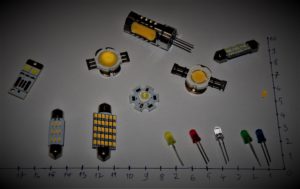
LEDs came to significant changes through time, from its most basic design to multi-color diodes, smd diodes, cobs (Chip on board). Here are a few examples:
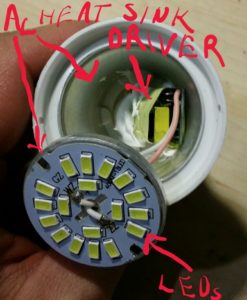
core parts of LED bulb
From now on we will be talking about Led or Led bulb as a complete device, not just a semiconductor. In this case, it is a bunch of Leds with power driver, external casing, heat sink, light dispenser, and screw base or whatever another type of connector. Once more, the device not just a semiconductor. On the left picture is an opened case of the led bulb and I labeled core parts. The board with LEDs is located on top of the Aluminium heat sink, which then spans thru most of the plastic body. The power driver converts 220V AC to DC voltage necessary for LEDs to work. This design is good for LEDs since they have some decent cooling, but the power driver is in trouble since by itself it is heating much, and LEDs are adding fuel to its flames by adding their heat to this closed casing. As a result, you soon get a power driver broken.
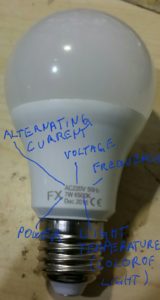
E27 base LED
Let’s observe markings from this E27 (Edison screw light base size 27) Led Bulb
AC – it means that it is for alternating current only
220V – it means that it`s operational voltage is 220 Volts so it is for Europe
50 Hz – it means that the frequency of this alternating current should be 50 Hz (You can ignore this)
7W – it means it`s power is 7 Watts. This is a smaller light bulb, and by my experience, it produces enough light for a smaller hallway, but we will come to this many times again.
Power Factor – explanation of my new friend “snakeskin” , regarding power factor:
The power factor has to do with the phase or timing of the AC current and how it is affected by the power supply. It’s kind of hard to describe because it involves real numbers (as in the square root of -1) and understanding how power companies generate and supply power. The important thing for you is it is not a rating of the efficacy of the fixture
Beam angle – first of all, beam angles are not used consistently by light bulb manufacturers. A wide beam angle ‘floods’ an area with light and is called a floodlight whereas a narrow beam angle is a ‘spot’ of light, hence spot light. The led bulb on the left picture is declared a BA of 180 degrees so it would be a floodlight.
6500 K – Color temperature in Kelvins – it means that it is between warm and cold white. Here is an example scale so you can get some basic idea:

The color temperature scale left is warm white right is cold white.
There are also some other things to observe when purchasing LEDs for your lighting:
CRI – A color rendering index is a quantitative measure of the ability of a light source to reveal the colors of various objects faithfully in comparison with an ideal or natural light source. TheCRI is determined by the light source’s spectrum. Typical LEDs have around 80 CRI, and 100 is an index of (daylight).
Lumen output – It is related to the brightness, which is the lumen output of an object in a given spectral region. Shorter to say more Lumens = more light.
Not many of the manufacturers are giving this information, but it is quite useful and important.
Dimmable – Old style: Led lights marked as dimmable are a little bit more expensive, let’s say if the non-dimmable led is 8 $ than same led but dimmable version would be 9 – 10 $. What does it mean? It means that you can manipulate its brightness by regulating circuit. One more important thing to remember is that dimmable LEDs can work in a non-dimmable circuit, but not vice versa. Do not use non-dimmable led in the dimmable circuit since it is not made for it. If you do it you may end up with some of these situations:
One more thing to remember: If Led is not marked as dimmable, than for sure it is non-dimmable. Pay attention to what are you buying.
Dimmable – Updated information from our friend Snakesign :
There are two types of phase dimming available on the market. Old style triac dimmers cut the front part of the AC sine wave to reduce delivered power. This is called Triac, forward phase, or magnetic low voltage (MLV) dimming. Because this induces a large current in the power supply when you go from 0 to some high part on the sine wave a new more modern dimmer was created. This is trailing edge, reverse phase, or electronic low voltage (ELV) dimming. It cuts out the backside of the sine wave to reduce delivered power. LED’s will respond differently to both types of dimmers. There is also a lot of difference between a shitty $10 dimmer from Home Depot and a $75 dimmer from Lutron, even in the same dimming class. There is also some difference depending on how heavily the line is loaded. So compatibility has to be determined on an almost case by case basis.
Posted in Home Tagged with: Banggood, Brightnes, Energy efficiency, Energy saving, GE, IKEA, LED, Led Light, Lumen, Osram, Phillips